
The complete guide
How to Choose a Lightweight Backpacking Tent
The problem with most tents you already own
The tent in the back of the cupboard is usually one of two things. Either it is a big family dome that takes twenty minutes and two people to put up, or it is a cheap pop-up that leaks at the seams the first time the rain sets in. Neither one is any use when you are walking in with everything on your back.
What people actually need for a night or two out is a shelter that weighs little enough to forget about on the climb, goes up fast when the weather turns, and stays dry overnight without any drama. That is a narrower brief than it sounds. Get it wrong and you spend the trip either carrying too much or lying awake in a damp sleeping bag.
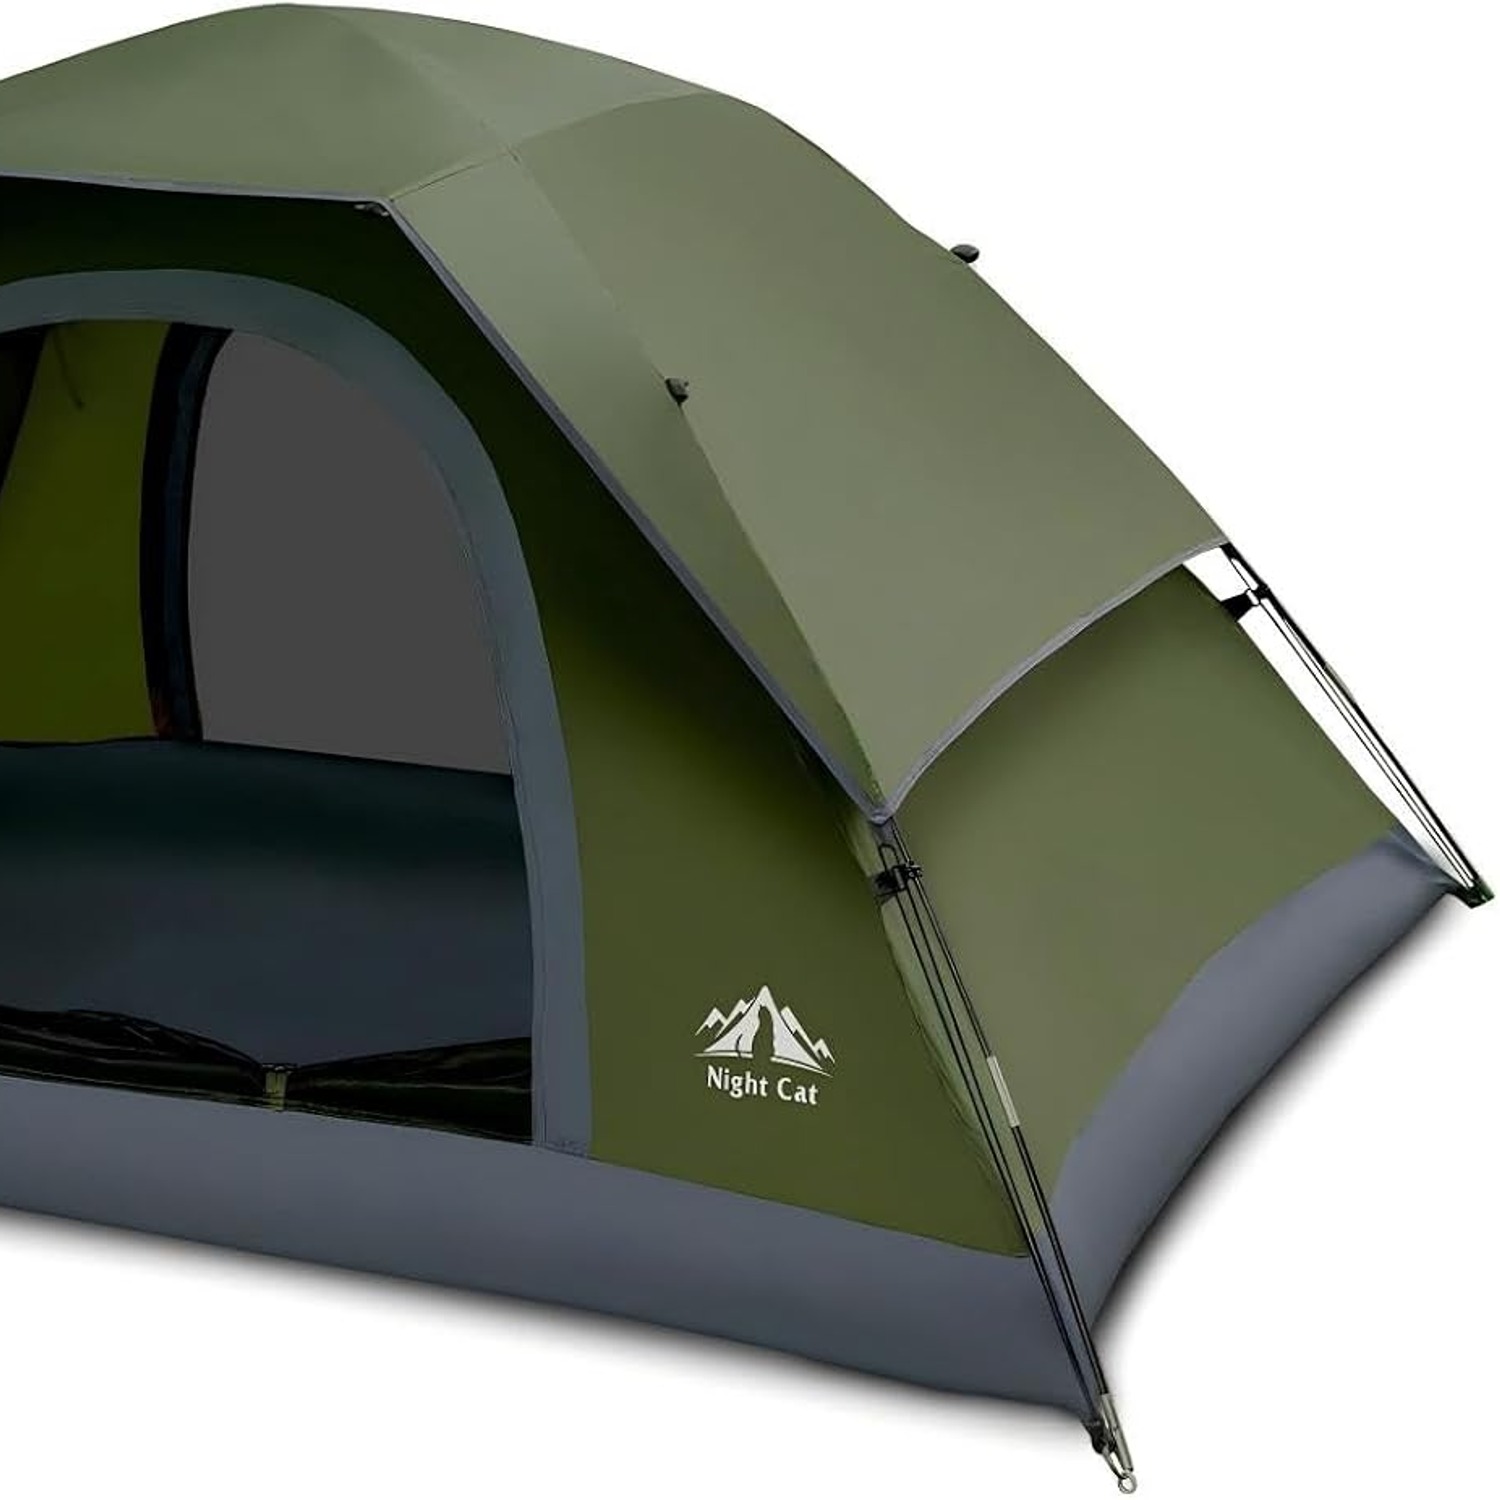
This guide walks through what matters when you pick a tent in this category, using the Night Cat ZP-30 as the worked example.
What the numbers on the box mean
Three figures tell you most of what you need to know about any backpacking tent, and the rest is detail.
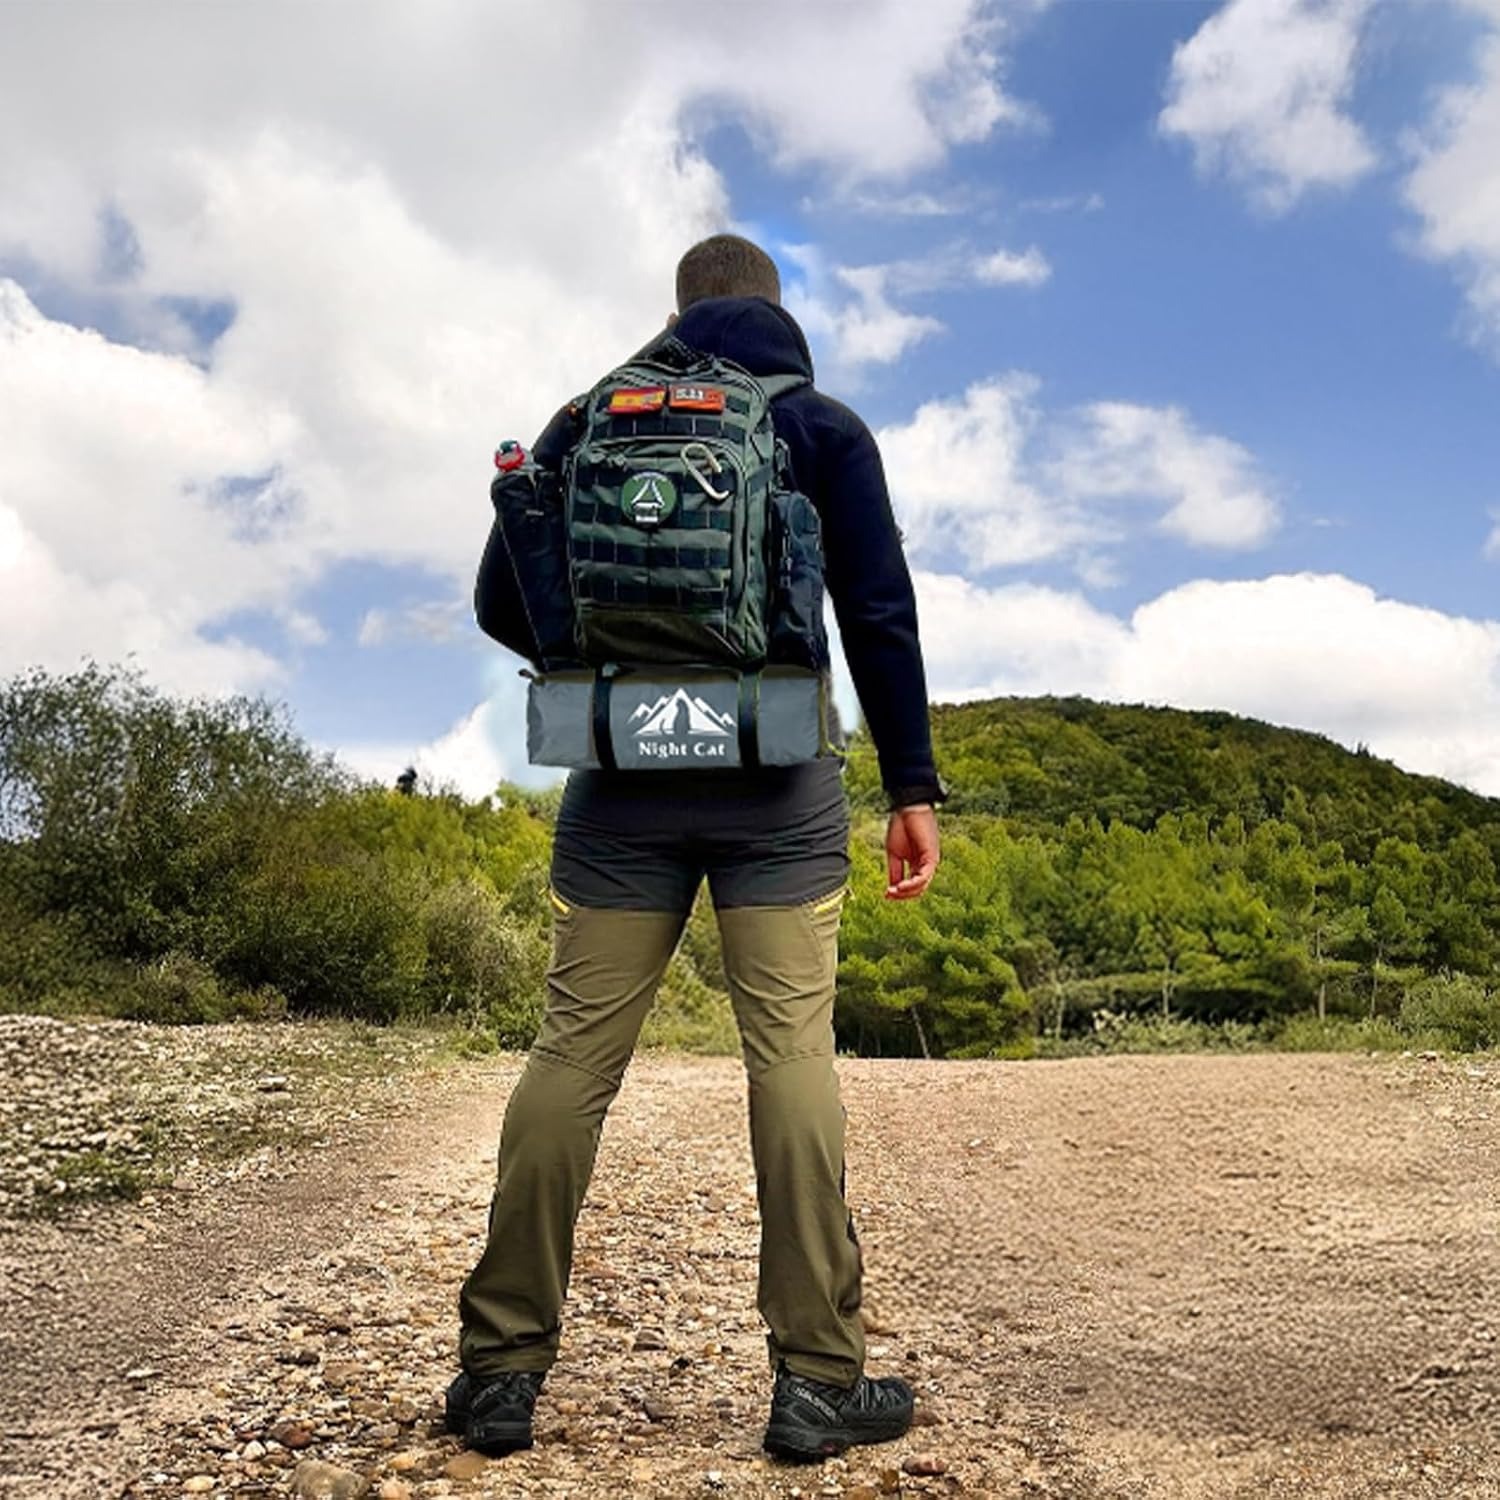
The first is weight. This one lists both packed weight and minimum trail weight at 2.45 kg. Those two numbers being the same is useful, because it means there is no fine print where the advertised weight excludes the stakes and guylines. Two and a half kilos is a sensible target. Lighter tents exist, but they get expensive quickly and the fabric gets thinner as the price goes up.
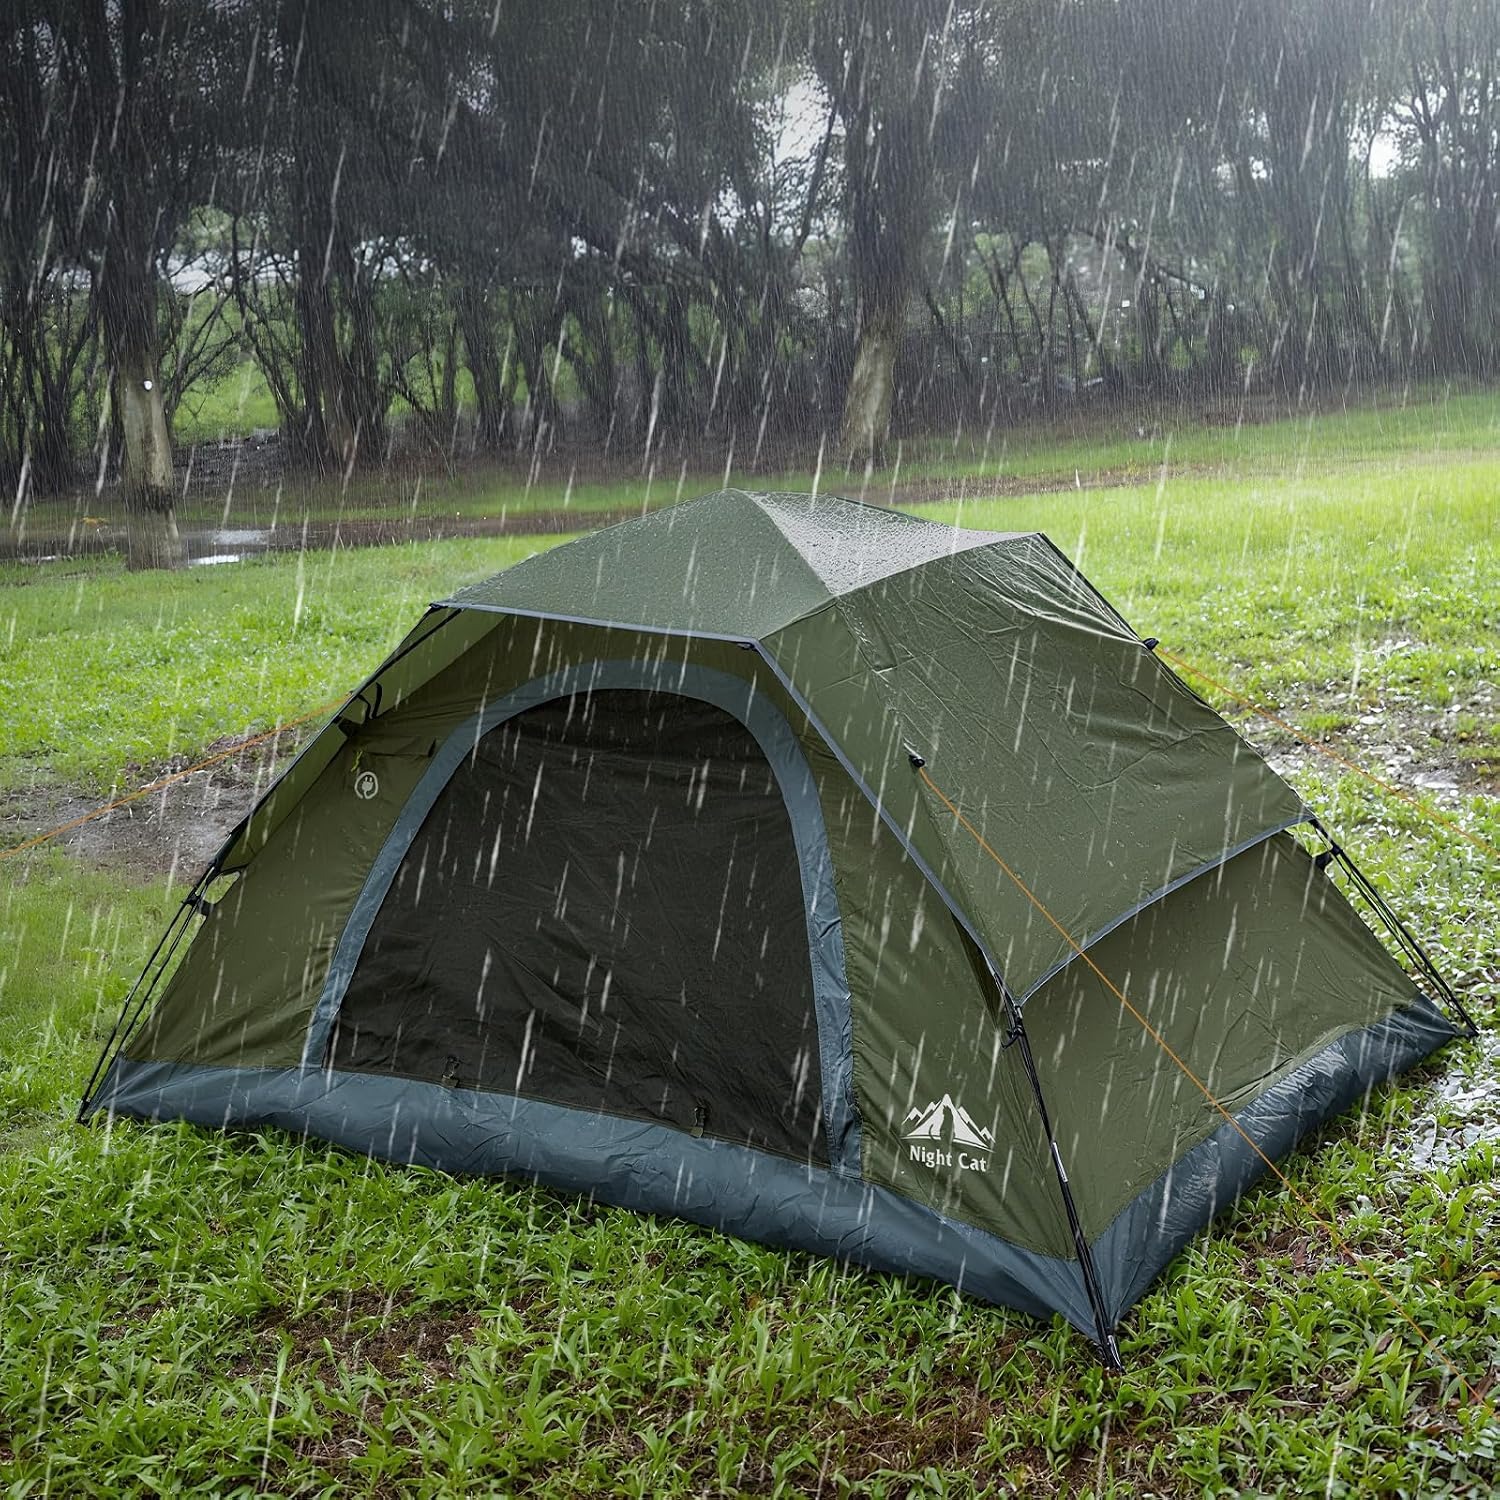
The second is the water resistance rating, given here as 3000 mm for the fly and the 150D Oxford floor. This comes from a hydrostatic head test, where water is stacked in a column above the fabric to see how high it goes before it seeps through. Around 1500 mm handles light showers. At 3000 mm you are into genuine overnight rain territory, which is what most people actually want from a waterproof tramping tent. Going much higher adds weight and cost for gains you will rarely notice.
The third is floor size. Here it is 220 cm by 150 cm, about three square metres, with a peak height of 110 cm. Those are solo numbers with room to spare, not two-person numbers with room to spare, and it is worth being honest with yourself about that before you buy.
Space, and why 150 cm matters
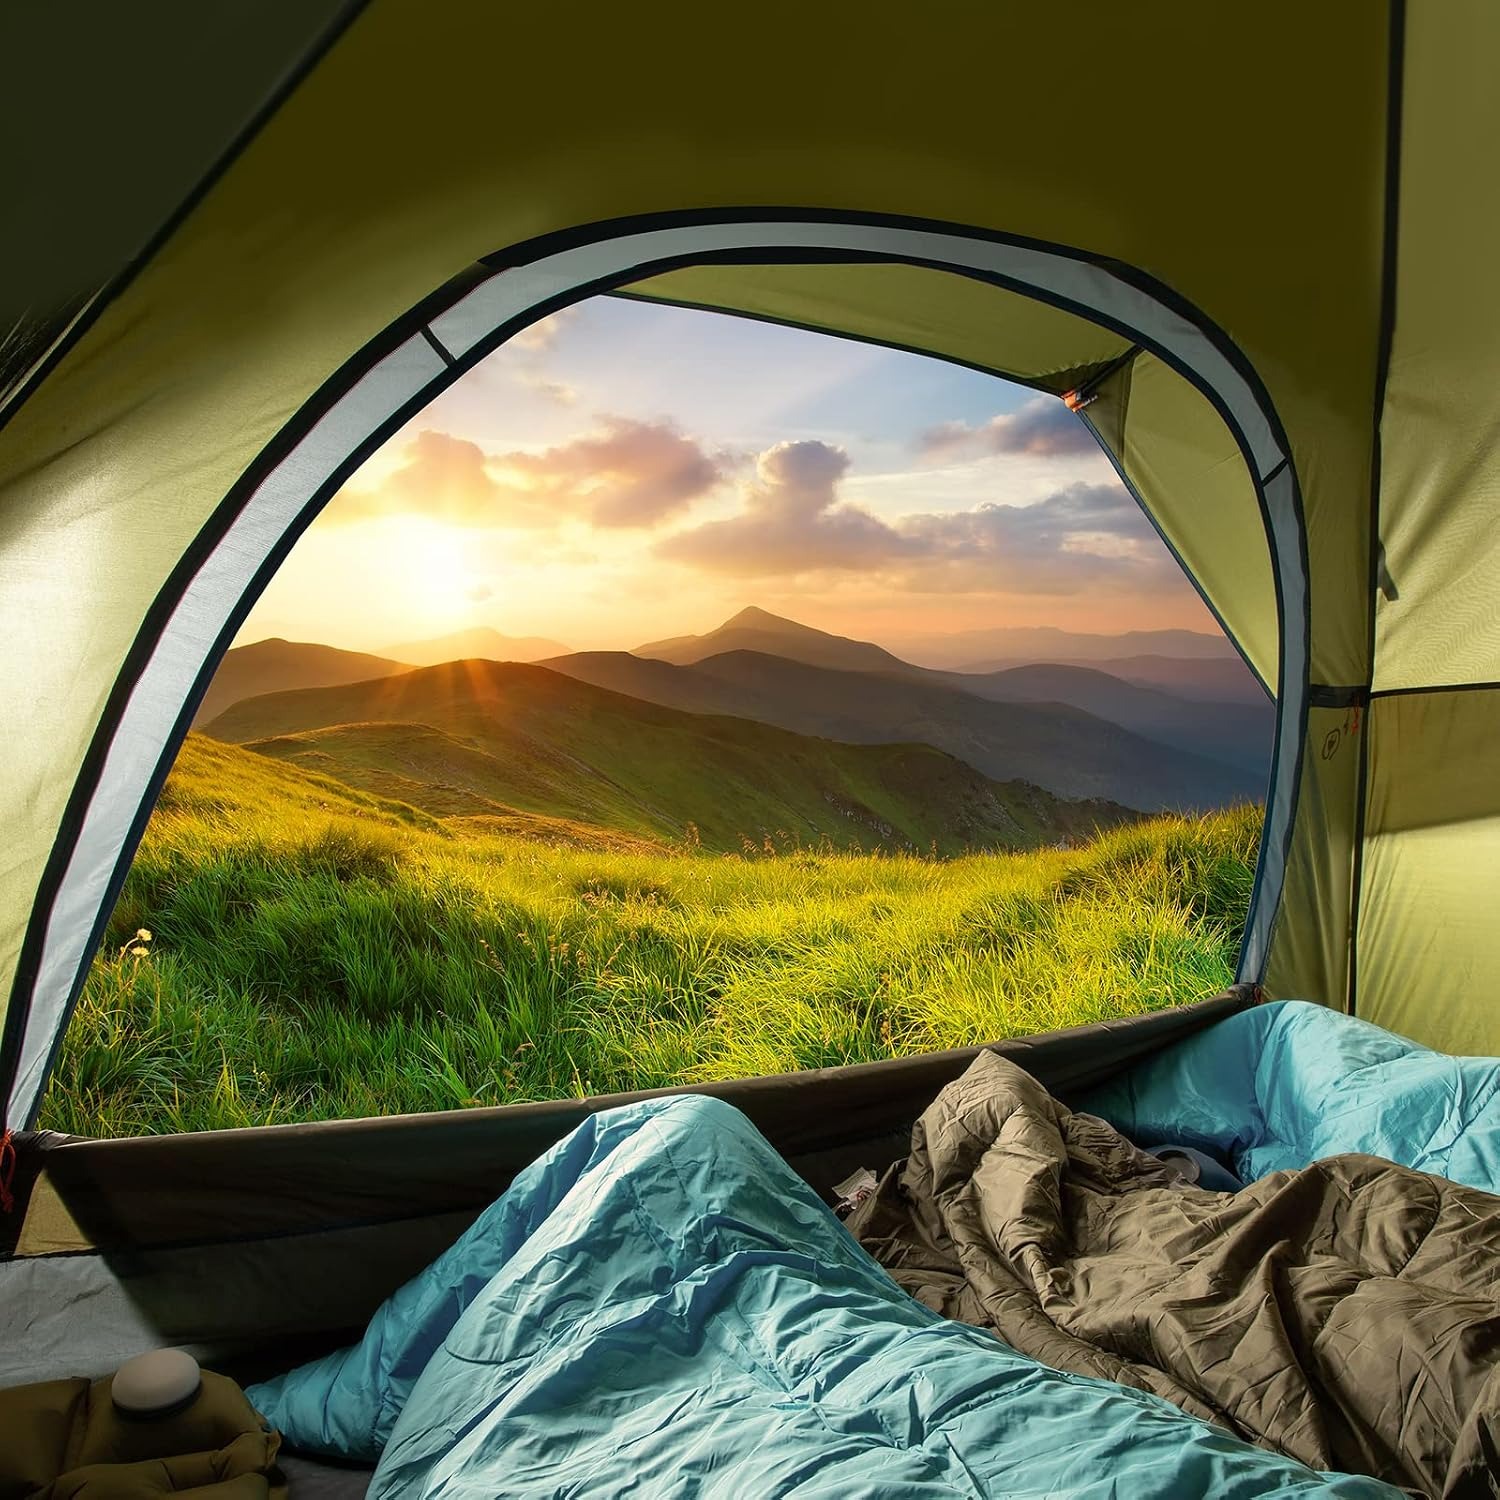
A standard sleeping mat is around 60 cm wide. Two of them side by side is 120 cm, which fits inside 150 cm with 30 cm left over for a pack, boots and a water bottle. That is why 150 cm of floor width is the quiet hero spec on this tent.
Used solo, as the capacity listing suggests, you get a very comfortable night. Your mat sits on one side, your gear sits on the other, and nothing has to live out in the weather. Used by two, it works for a warm summer night when you are not carrying much, but you will be shoulder to shoulder and your packs will need to go under the fly outside.
The 110 cm peak height is enough to sit up and change a shirt. You will be kneeling or sitting, not standing, which is normal for anything in the best solo camping tent bracket. Height costs weight and catches wind, so a low dome is the right trade for walking trips.
Pitching it in the dark
Setup time is listed at around two minutes, and the reason it can be that fast is the clip system. Instead of threading two long poles through fabric sleeves, you lay the body out, peg the corners, build the two fibreglass poles and clip the tent body up to them. Clips are faster, they are easier with cold hands, and when one breaks you can usually carry on with a bit of cord.
Ten aluminium stakes come in the box. Use all of them. The corners hold the floor square, the door pegs stop the fly flapping against the inner, and the spare ones go on the guylines. Four guylines are supplied, and they do more work than their size suggests. A tensioned fly sits away from the inner tent, which is what stops condensation transferring onto you, and it also stops the whole thing drumming in a breeze.
If you are camping on sand, loose gravel or thin soil, standard stakes will pull out. Rocks, logs or buried sticks work as anchors, and a few longer sand pegs weigh almost nothing in the pack.
Who this suits
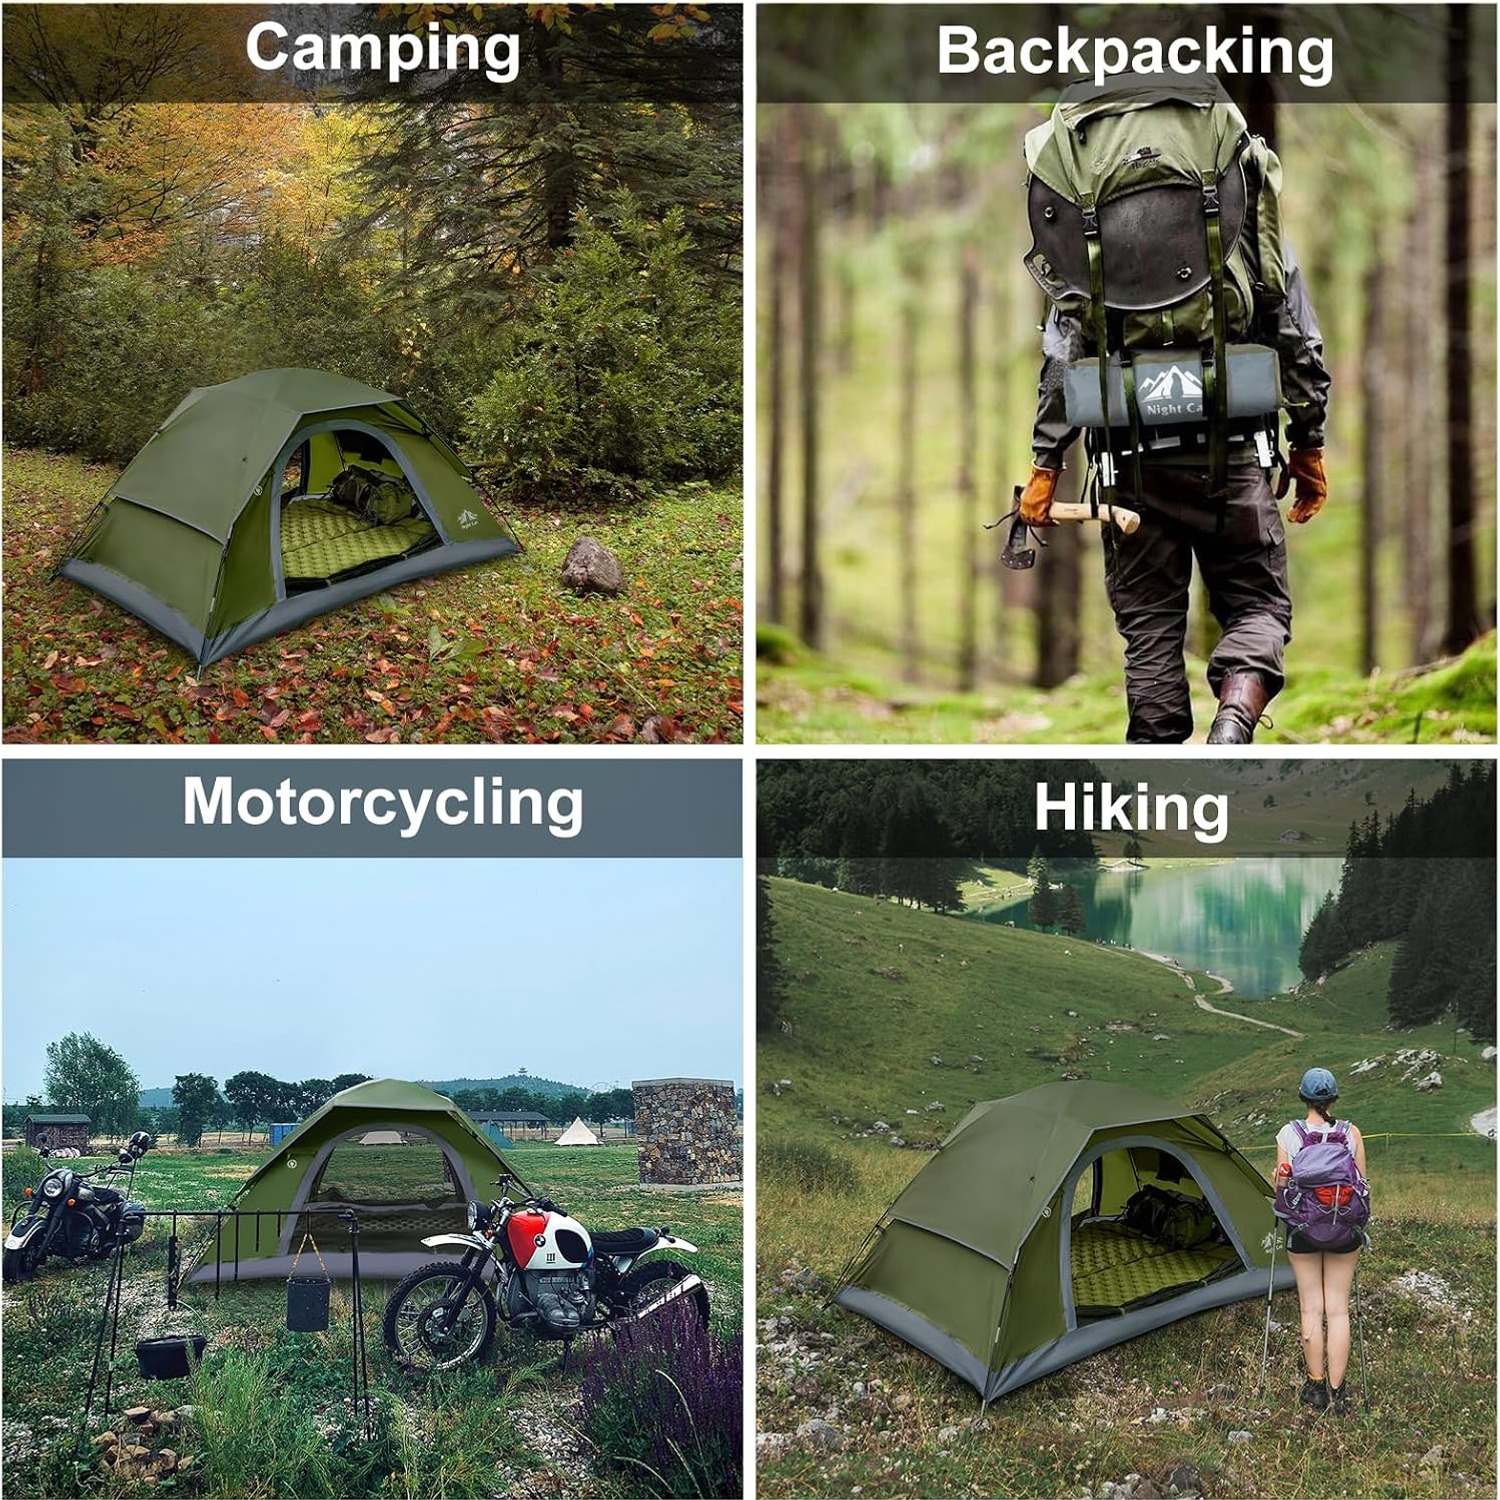
Walkers doing one or two nights out, where the carry matters but you are not counting grams for a thru-hike.
Cyclists and motorcyclists, because 2.45 kg and a short pole bundle fit a pannier without argument. Riders hunting for a best quick pitch tent tend to land in exactly this weight band.
Festival and event campers, who want something they can carry from a distant car park, put up tired, and trust in a wet weekend.
Anglers and photographers who need a low profile shelter they can site quickly and move again the next morning.
It is less suited to anyone wanting a true two-person tent with two full vestibules, or anyone heading into serious winter conditions. The seasons field says year round, but read that as three seasons plus mild cold, not snow loading on a ridge.
Two doors, and why they change things
On paper, a second door looks like a luxury. In use it is the feature you notice most.
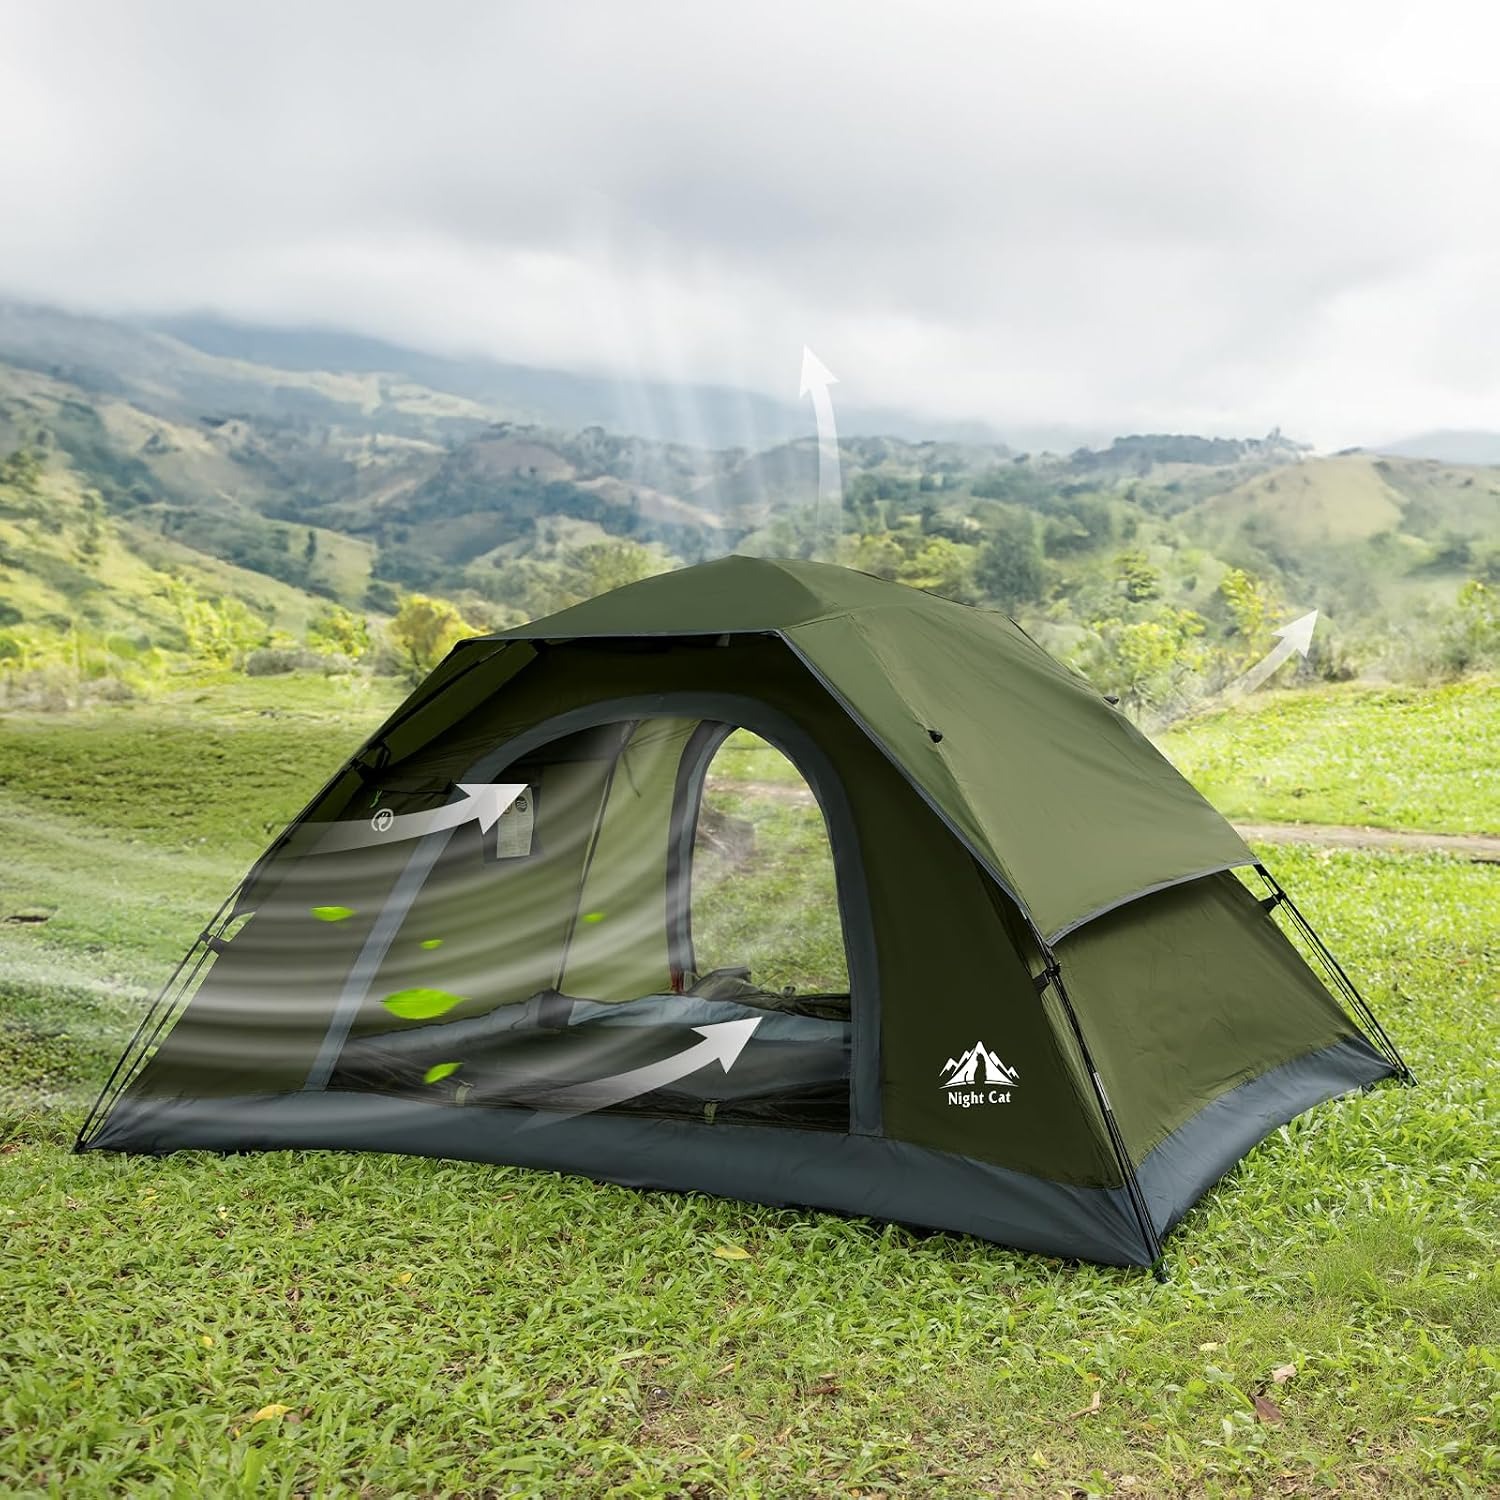
You can pick your exit based on where the wind and rain are coming from. You can leave one side open for air and keep the other zipped for shelter. If you do share the tent, nobody has to crawl over anybody at two in the morning. And with both doors cracked at the top, you get genuine cross flow, which is the single best thing you can do about condensation.
Condensation is not a leak, and every tent gets it. Moisture from your breath hits cold fabric and turns to droplets. Ventilation moves that damp air out before it settles. Keeping wet boots and jackets near the door rather than at your feet helps too.
Looking after it
Care here is simple and non-negotiable if you want the tent to last. Hand wash only, with cool water and a soft cloth. No washing machine, no tumble dryer, no bleach, no dry cleaning. Machine agitation and heat both wreck waterproof coatings, and once that goes, the 3000 mm rating goes with it.
Dry it completely before storage. Completely means pitched or hung for a few hours, not folded while it still feels cool to the touch. A tent packed slightly damp will grow mildew within a week, and mildew smell does not come out.
Shake out grit before you fold, because sand inside the zip track is what kills zips. Store the tent loose in a dry cupboard rather than crushed into its stuff sack all winter. Long term compression creases the coating along the same lines and those creases are where leaks eventually start.
Carry a short strip of repair tape and a spare stake or two. Between them they fix almost every problem you will have in the field.
The short version
This is a 2.45 kg free standing dome tent with 3000 mm water resistance on both the fly and the 150D Oxford floor. The inner floor is 220 cm by 150 cm with 110 cm of headroom, giving about three square metres. It has two zippered doors, two clip-on fibreglass poles, ten aluminium stakes and four guylines, and the listed setup time is about two minutes.
Think of it as a roomy solo shelter rather than a tight double. Peg it properly, vent both doors, dry it before you pack it, and it will do what you need on the kind of trips most people actually take.